Elle grid
From Lrose Wiki
Contents
Elle grid tutorial
This workflow will convert several raw radar files to the CfRadial format, interpolate the data to a cartesian grid, and apply a convective stratiform separation algorithm.
Run program on the command line
- Download the elle_grid.tar.gz file
- Extract contents into the desired directory
tar -zxvf elle_grid.tar.gz
You'll end up with a directory that includes the raw radar files and parameter files needed to run RadxConvert and Radx2Grid.
- Set the directories (note: there is purposely no slash at the beginning of PROJ). Together, HOMED/PROJ should direct you to the elle_grid directory. RAW is the full path to the raw radar data in /elle_grid.
export HOMED="/path/to/home/directory"
export PROJ=“short/path/to/elle_grid”
export RAW="/path/to/elle_basic/raw"
- Set the variables in the terminal and set the date. Print out the directory structure to make sure it's pointing to the right directory.
export RADAR_NAME="KHGX"
export days=20170827
export rdir="/path/to/lrose/bin"
echo $HOMED/$PROJ
- Convert the raw files to CfRadial files
$rdir/RadxConvert -params ./params/RadxConvert.* -f $RAW/$RADAR_NAME/$days/*.ar2v
- Regrid the data to a cartesian grid and apply the convective stratiform algorithm
$rdir/Radx2Grid -params ./params/RadxGrid.* -f convert/$RADAR_NAME/$days/*.nc
Expected output
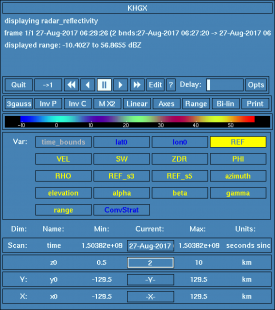
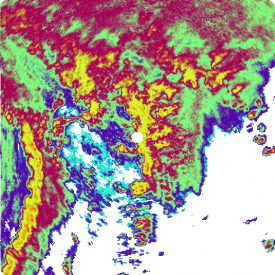
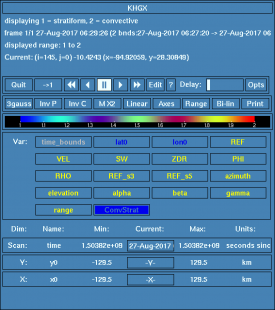
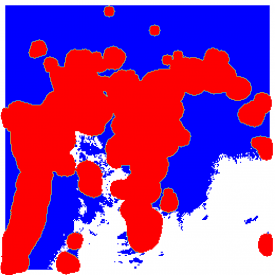
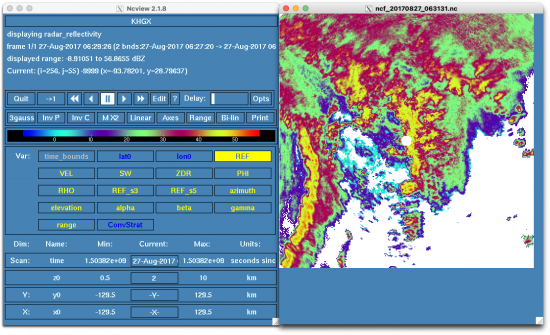
After running these two programs, you should end up with NetCDF files that show the following output.
Modify the gridding procedure in RadxGrid.new
- Select the interpolation mode in interp_mode on line 225. The current setting is a cartesian grid (INTERP_MODE_CART).
- In lines 227-312, there are various parameters for setting the interpolation the user might be interested in (e.g., whether to used the measured or fixed angles, setting the beamwidth fraction).
- Choose the vertical level spacing, either using evenly spaced levels (lines 354-358) or a custom array (386-400).
- Set the domain size and horizontal grid spacing in lines 439-446.
- Set the grid_projection on line 498 (the current setting is PROJ_FLAT).
- Choose whether to censor output based on polarimetric variables (e.g., PID category or Rhohv values) on line 1278 (current setting is TRUE and currently censors data where Rhohv is outside [0.8, 1.05] deg/km and REF is outside [-10, 100]).
- Choose whether to remove long range rays in NEXRAD data on line 1468 (current setting is TRUE).
- Choose whether to identify convective and stratiform precipitation and set the thresholds in lines 2416-2597 (current setting is TRUE). The threshold for definitive convection is on line 2491, the radius of convection is on line 2504, and choosing to write the partition to the file is on line 2559. However, I encourage suggest reading through the entire section and determining whether the values are appropriate for the precipitation type.
