Difference between revisions of "Elle full"
From Lrose Wiki
(Created page with "== Full elle tutorial == This workflow will convert raw radar files to the CfRadial format and estimate the surface rain rate, emphasizing some parameters that need to be def...") |
|||
| Line 9: | Line 9: | ||
<li>Extract contents into the desired directory</li></ol> | <li>Extract contents into the desired directory</li></ol> | ||
tar -zxvf elle_full.tar.gz | tar -zxvf elle_full.tar.gz | ||
| − | + | This step produces a directory that includes files to set environment variables, example parameter files, and a sample script that will run all the programs in one go. | |
[[File:Elle_full_dirs.png|600px]] | [[File:Elle_full_dirs.png|600px]] | ||
| + | |||
| + | The user can create their own parameter files for each function as shown in this [http://wiki.lrose.net/index.php/RadxKdp#Ensure_file_is_up_to_date example], but then each directory will need to be set manually. The parameter files included in the elle_full.tar.gz file include environment files that will set the directory structure with modifications to only two lines of code. | ||
=== Set up environment variables === | === Set up environment variables === | ||
Revision as of 18:37, 24 August 2020
Contents
Full elle tutorial
This workflow will convert raw radar files to the CfRadial format and estimate the surface rain rate, emphasizing some parameters that need to be defined for each application. Note, the current parameter files are currently optimized to work on Unix systems.
Download parameter files
- Download the elle_full.tar.gz file
- Extract contents into the desired directory
tar -zxvf elle_full.tar.gz
This step produces a directory that includes files to set environment variables, example parameter files, and a sample script that will run all the programs in one go.
The user can create their own parameter files for each function as shown in this example, but then each directory will need to be set manually. The parameter files included in the elle_full.tar.gz file include environment files that will set the directory structure with modifications to only two lines of code.
Set up environment variables
- Either place the raw radar data in a directory called "raw" or make a note of the path to the radar data.
- In /elle_full/env_dirs, edit the directories (note: there is purposely no slash at the beginning of PROJ). Together, HOMED/PROJ should direct you to the elle_full directory. RAW is the full path to the raw radar data.
export HOMED="/path/to/home/directory"
export PROJ=“short/path/to/elle_full”
export RAW="/path/to/elle_full/raw"
- Set the variables in the terminal and set the date. Print out the directory structure to make sure it's pointing to the right directory.
source env_dirs
source env_vars
export days=“20170602”
export daysbb="20170602"
echo $HOMED/$PROJ
- Download the GFS analysis from this website. Select the AIRS option for the 0.5º domain, which is the first GFS option available. Since the tutorial includes two different files, select all UTC cycles and enter the start and end dates (02 Jun 2017). Select the batch option and enter your email. Download the data when your order is ready and put it in a folder named gfs within the elle_sound_bb directory.
- Download the topography data using the following command for this particular case. FYI: the folder is approximately 6 GB. Unzip the contents and make note of the resulting directory.
wget -r https://dds.cr.usgs.gov/srtm/version2_1/SRTM3/Eurasia/
- In the params folder, modify line 53 of RadxBeamBlock.RCWF.new to indicate the directory of the unzipped topographic data.
- Convert the raw file to a CfRadial file
/path/to/RadxConvert -params ./params/RadxConvert.* -f $RAW/$RADAR_NAME/$days/*.raw*
- Run RadxBeamBlock for the RCWF radar location
/path/to/RadxBeamBlock -params ./params/RadxBeamBlock.$RADAR_NAME.*
- Convert the GFS Grib2 files to Mdv (Grib2toMdv) and then extract the sounding closest to the RCWF radar (Mdv2SoundingSpdb)
/path/to/Grib2toMdv -params ./params/Grib2toMdv.* -f ./gfs/*.grb2
/path/to/Mdv2SoundingSpdb -params ./params/Mdv2SoundingSpdb.* -f ./gfs/mdv/$i/*.mdv
- Run RadxRate to calculate Kdp, the PID, and various rain rates
/path/to/RadxRate -params ./params/RadxRate.* -f ./convert/$RADAR_NAME/$days/*.nc
- Run RadxQpe to estimate the near-surface rainfall using the hybrid method
/path/to/RadxQpe -params ./params/RadxQpe.* -f ./rate/$RADAR_NAME/$days/*.nc
- In the elle_basic directory, you should now see 3 new directories: convert, rate, and qpe. You can look through the the files in those directories to inspect the new files and check the quality of the data.
Run programs from a sample script
- Follow steps 1-3 and 5-7 from the section above.
- Edit directories in run_radx.sh script (lines 3 and 12)
cd /PATH/TO/elle_sound_bb
rdir="/PATH/TO/lrose/bin"
- Make the file executable, if it isn't already
chmod u+x run_radx.sh
- Run shell script
./run_radx.sh
- In the elle_sound_bb directory, you should now see 3 new directories: convert, rate, and qpe. You can look through the the files in those directories to inspect the new files and check the quality of the data.
Example output
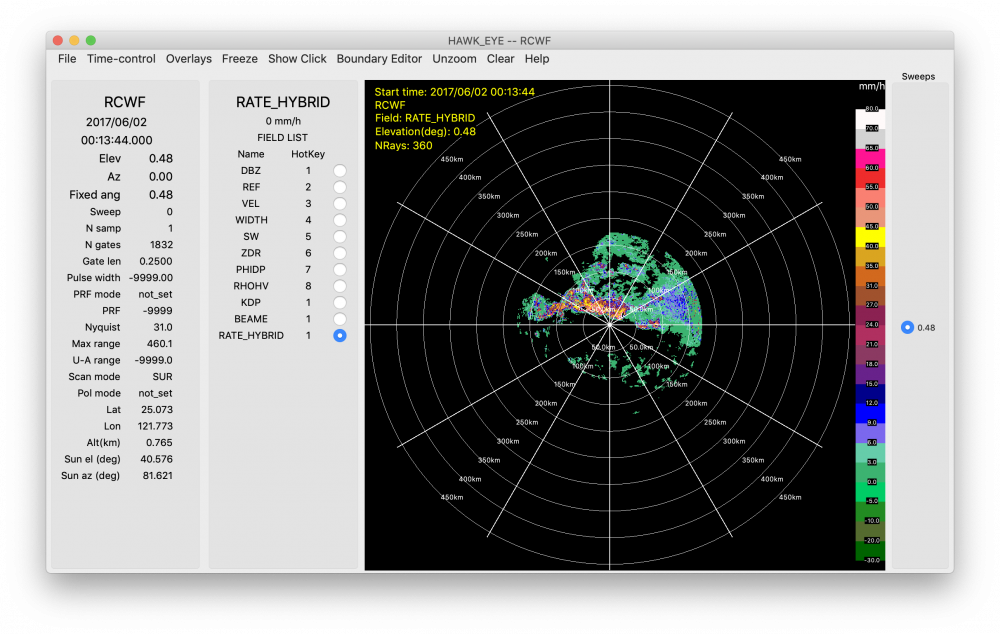
Shown below are some HawkEye snapshots of data from the files created during each step.
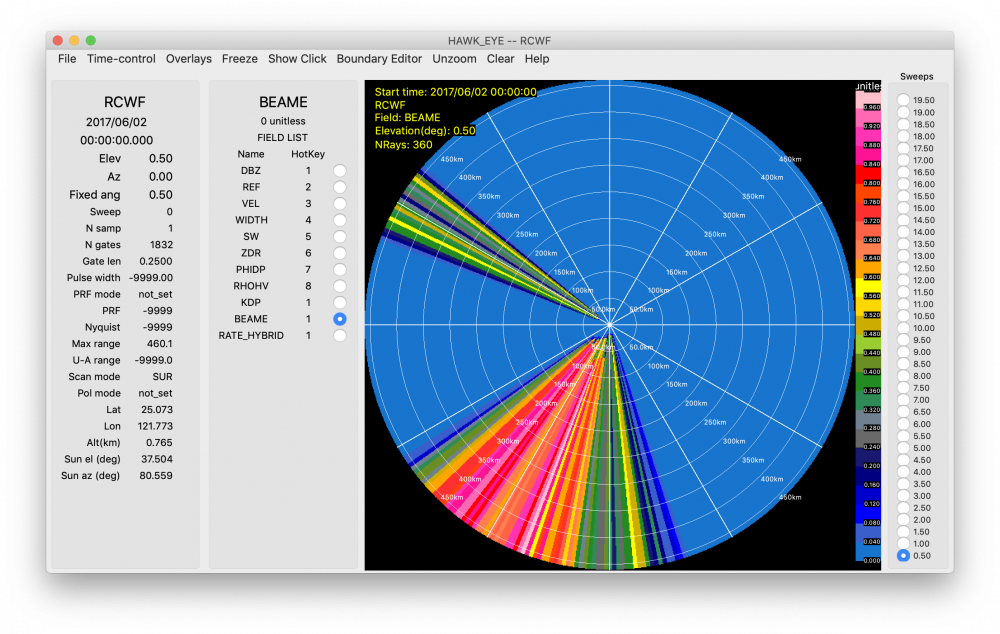
Example of the beam blockage fraction (0-1) from RadxBeamBlock. In this tutorial, output from RadxQpe will look for the lowest elevation angle with < 0.25 blockage.
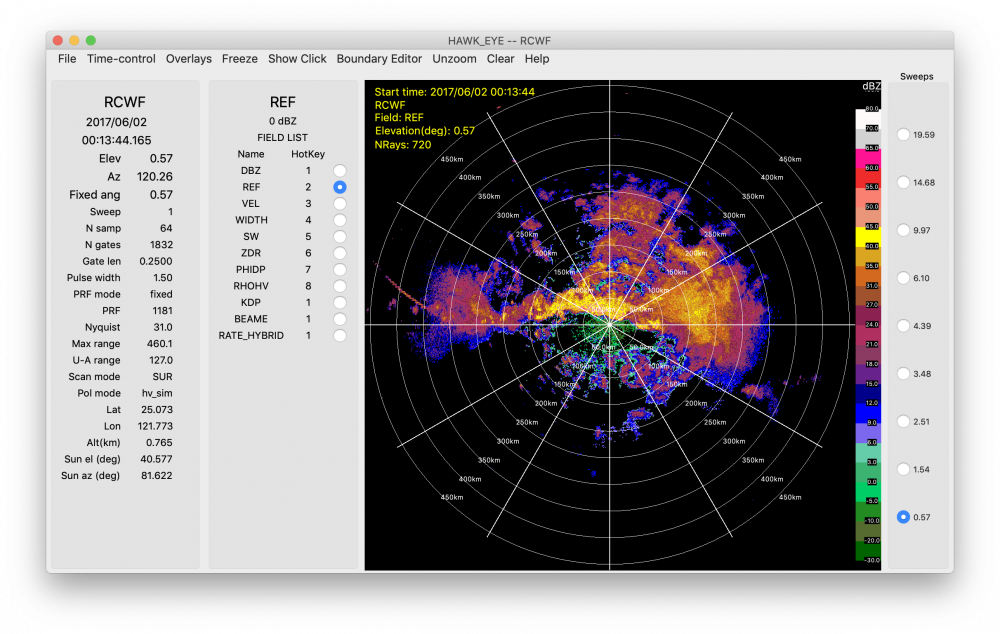
Example of the reflectivity field displayed in HawkEye created by RadxConvert.
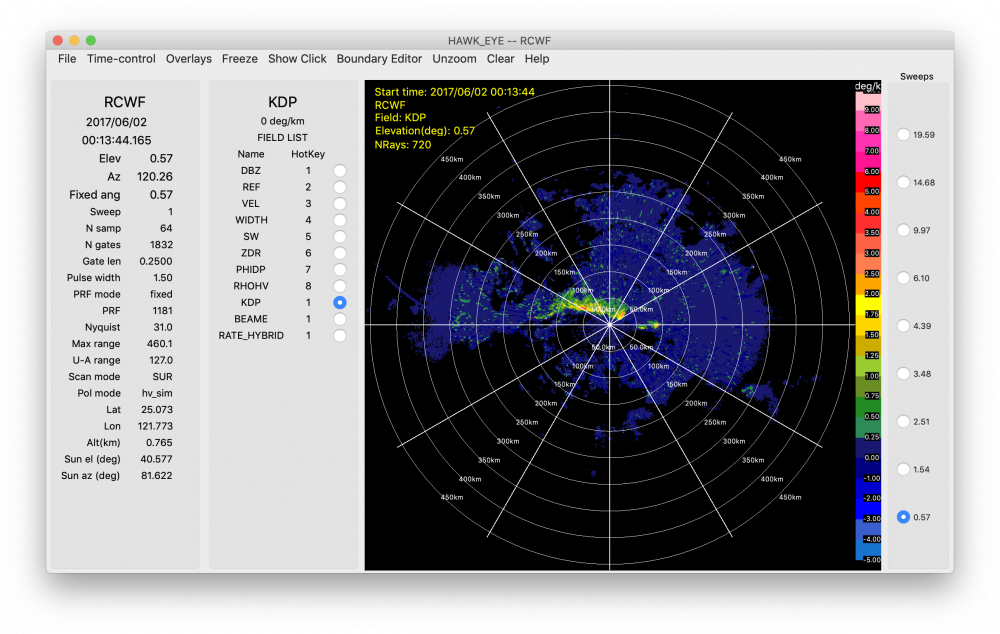
Example of the Kdp field displayed in HawkEye created by RadxRate.
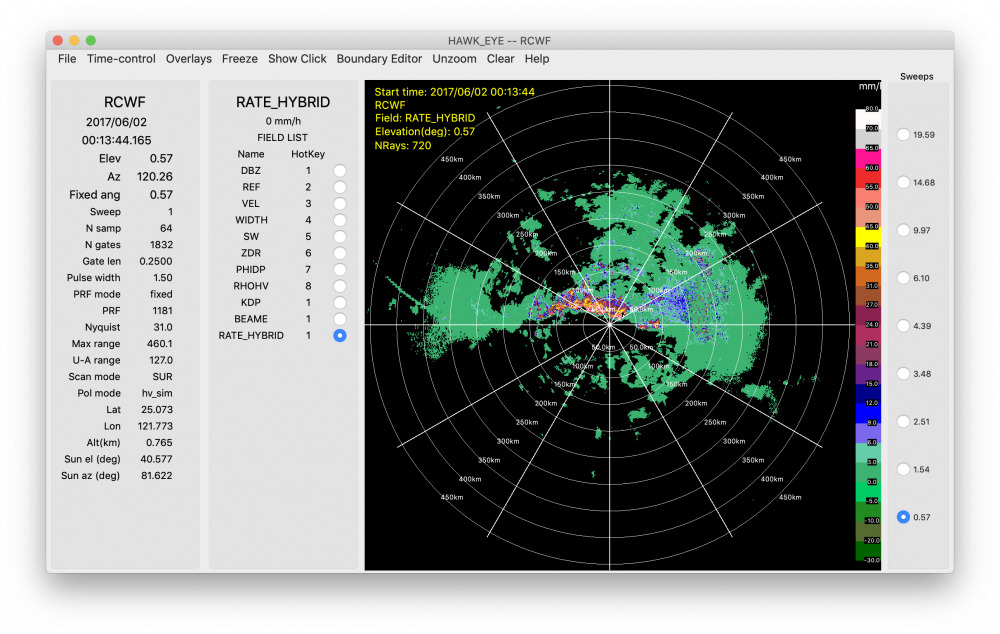
Example of the hybrid rain rate field displayed in HawkEye created by RadxRate.
Example of the estimated surface rain rate field displayed in HawkEye created by RadxQpe.
